|
1 |
|
1 |
Follow these steps to create a shipment and print a shipping label.
Select the source document by checking the box in the Status column and then select Auto-Complete in the Select an Action drop-down menu.
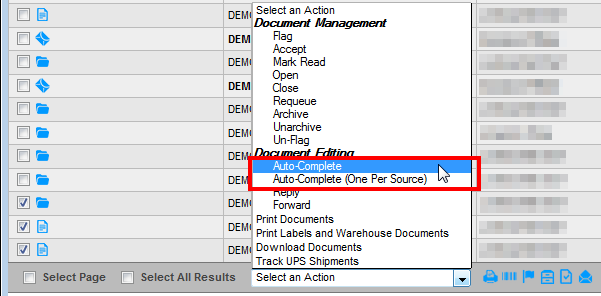
The Select a Form to Create window displays. Select Create FedEx Shipment.

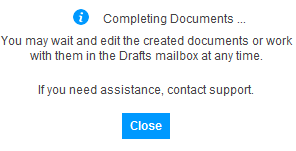
Auto-Complete will begin to create the return documents. Order information will be sourced from the PO to complete this process including ship-from address, quantity, weight, and dimensions.
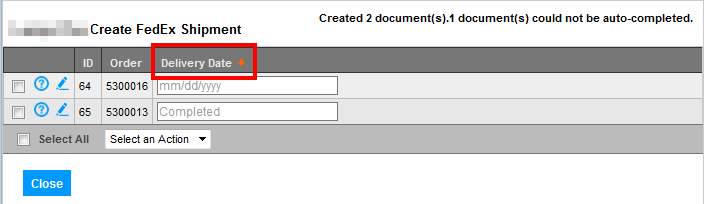
The Quick Edit window displays if additional information (not sourced from the PO) is required. Enter data as required.
Click the Down Arrow to copy data in the top field to all the fields below, if so desired.
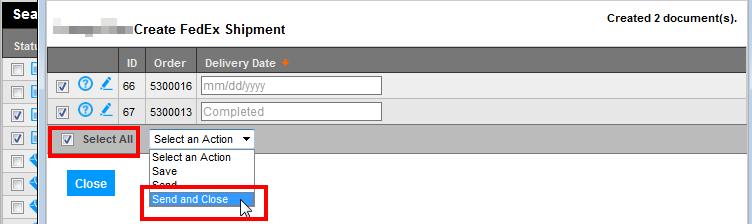
When you’ve completed any required data entry, click the Select All box and then Send and Close from the Select an Action drop-down menu. This will submit the data to FedEx and create the label(s).
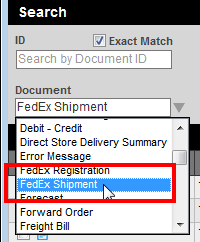
Use Search to locate the FedEx Shipment(s). To narrow the search, you may use the Select Document filter and select FedEx Shipment to locate only FedEx Shipment documents.
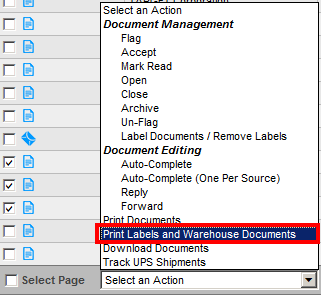
Select the desired FedEx Shipment(s) individually, or using the Select All box.
Use the Select an Action menu and select Print Labels and Warehouse Documents.
The Print Selection window will appear.
NOTE: Prior to creating a FedEx Shipment, Pick List and Packing Slip will be listed. After creating a FedEx Shipment, Packing Slip and FedEx Label are listed.
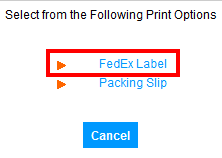
Click FedEx Label to see the Print Preview.
The FedEx shipping label(s) will appear similar to the one below.
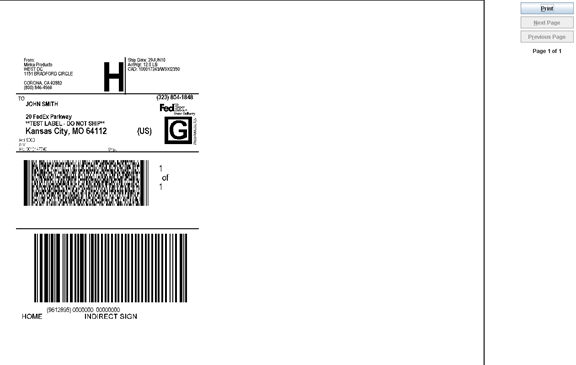
Click on Print to print the FedEx shipping label(s).
Attach the label to the appropriate package(s).
Repeat steps 6 - 10 to print Packing Slips.