|
1 |
|
1 |
The Item Repository allows users to add and edit Item information for repeated use when completing data entry. Once a user specifies Item details within the Item Repository, they are available to automatically populate form fields during subsequent completion of EDI documents. This reduces the time spent on data entry and the possibility of errors.
Follow these steps to utilize the items in your Item Repository.
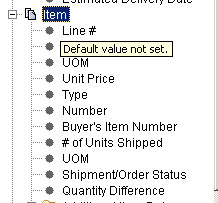
When working in the Defaults window, you have the option of deciding whether or not to use item details that have been added to the Item Repository. To retrieve items that have been added to the Item Master, click the editable lines in the left-hand frame of the window. Pop-up messages inform you whether or not defaults can be set, as shown in the following image.
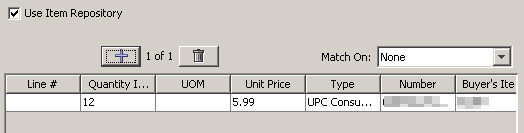
The right-hand frame displays contents similar to the following:
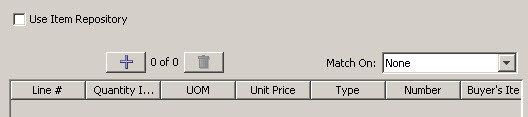
Click the Use Item Repository check-box.
![]()
Click the Add ![]() button. The system retrieves all updated items from the Item Master and returns a list of items that are available for selection. If there are not any items added to the Item Master, or if there are not any qualifying fields to be mapped, then an error message will display that reads No Item Defaults Available.
button. The system retrieves all updated items from the Item Master and returns a list of items that are available for selection. If there are not any items added to the Item Master, or if there are not any qualifying fields to be mapped, then an error message will display that reads No Item Defaults Available.
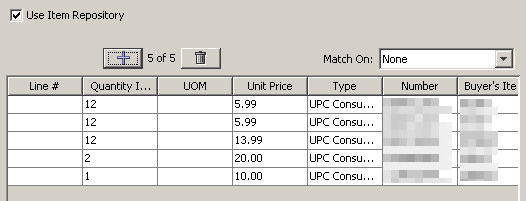
Once the item records have been retrieved, a window similar to the following displays.
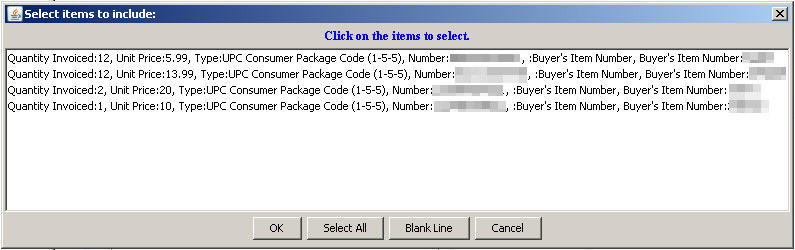
Choose one of the following:
Option 1
Click one or multiple lines and then OK to add the selected lines. The right frame of the Defaults window redisplays (shown below). Complete entry of the fields and then click the Save button to add the values.
Option 2
Click Select All to add all line items. The right frame of the Defaults window redisplays to include all lines added to the data entry table. Complete entry of the fields and then click the Save button to add the values.
Option 3
Click Blank Line to add a new line that does not contain any of the edited defaults. Blank fields can either be filled in manually or can be completed through using other types of defaults (static, lookup)
Option 4
Click Cancel to exit the window.
Save and close the Defaults window.
NOTE: Defaults must be active to reference your item Master.
Now when creating a return document when not using a source document like a purchase order, the portion of the form where you would click on the add ![]() button to add an item, the list for select items will display your entire item repository.
button to add an item, the list for select items will display your entire item repository.