|
1 |
|
1 |
The Item Repository allows users to add and edit Item information for repeated use when completing data entry. Once a user specifies Item details within the Item Repository, they are available to automatically populate form fields during subsequent completion of EDI documents. This reduces the time spent on data entry and the possibility of errors.
To learn how to use Item Repository, view this training video.
NOTE: Instructions on using the Item Repository are found here.
To access your Item Repository, click Preferences and then the Edit link for the Item Repository section.
You may also access the Item Repository from the folder tree in your Defaults window.
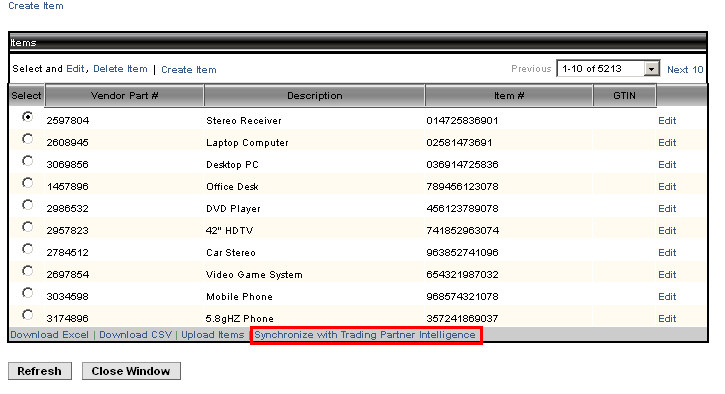
The Item Repository window opens.
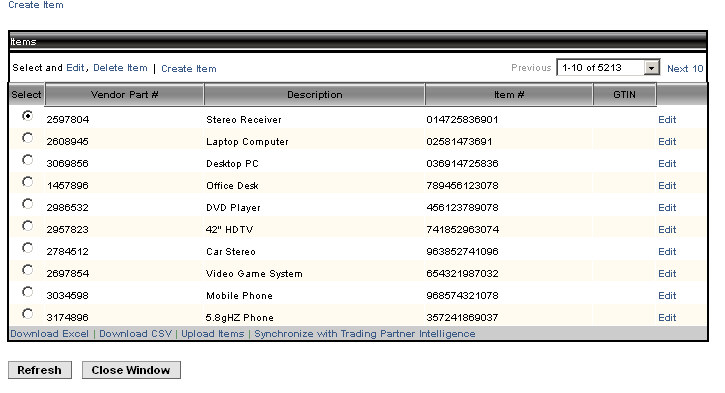
Available options in the Item Repository include:
Edit - Opens the Edit Item window for making changes to item default values
Delete Item - Deletes the item that is currently selected
Create Item - Creates a new item
Download Excel - Download item data into a Microsoft Excel formatted document
Download CSV - Download item data into a Comma Separated Values (CSV) formatted document
Upload Items - Upload item data using an Excel or CSV formatted file
Synchronize with Trading Partner Intelligence - Synchronize item data with Trading Partner Intelligence
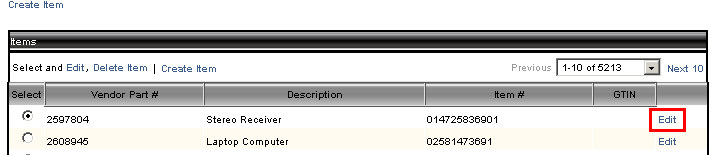
To edit an item:
Click the radio button in the line of the item that you want to edit.
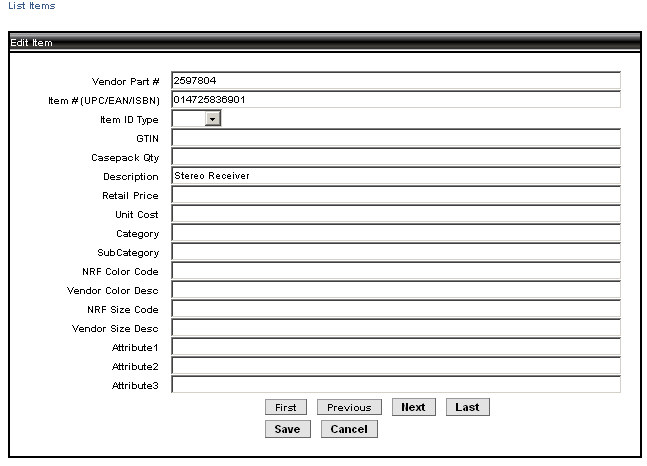
Click the Edit link. The Edit Item window displays.
Make changes to the item details. Click Save to save your changes. Click Cancel to return to the Item Master window without saving changes. Use the First, Previous, Next and Last buttons to move through the list of items in the Item Repository.
To delete an item:
Click the Delete Item link. The following window displays:
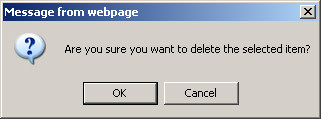
Click OK to delete the item. Click Cancel to return to the Item Repository window without deleting the item.
Deleted item data will reappear in the Item Master after TPI synchronization if it is included in the TPI database.
To create an item:
Click the Create Item link. The Create Item window displays.
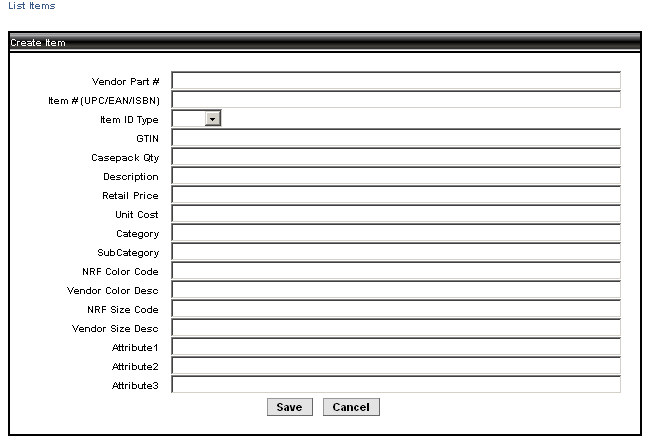
Make changes to the item details. Click Save to save your changes. Click Cancel to return to the Item Repository window without saving changes.
To download item data to Excel:
Click the Download Excel link. The Download Excel window displays.
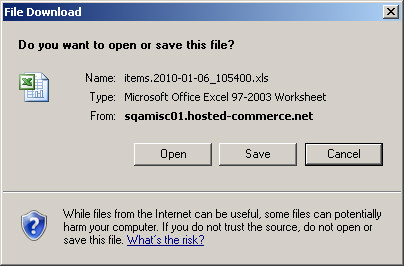
Click Open to open the file in Microsoft Excel.
Click Save to save the file to your PC.
Click Cancel to cancel the download.
The spreadsheet will be blank if no item data is already loaded into the Item Master. If item data is already loaded, it will be included in the download.
To download item data in CSV format:
Click the Download CSV link. The Download CSV window displays.
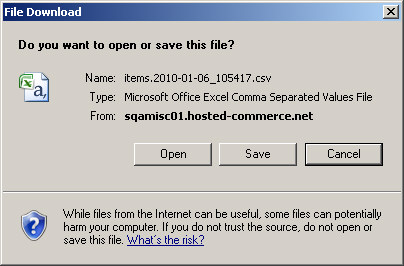
Click Open to open the file in the default application (Excel in this example).
Click Save to save the file to your PC.
Click Cancel to cancel the download.
The spreadsheet will be blank if no item data is already loaded into the Item Master. If item data is already loaded, it will be included in the download.
To upload item data in Microsoft Excel or CSV format:
Click the Upload Items link. The Upload Items window displays.

Click Browse to select the file to upload.
Click Upload File to upload the selected file.
Once the upload is complete, a report screen will list the items that were changed.
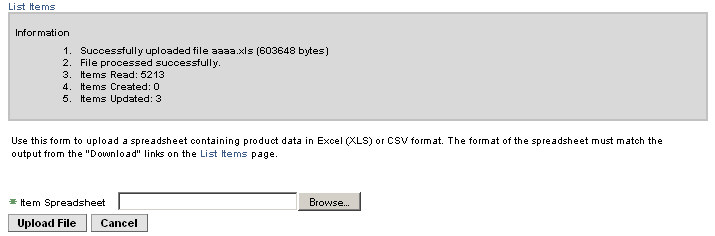
Click Cancel to return to the main Item Master screen.
File Requirements:
The first row should contain only the header description, as shown below, or be blank.
![]()
The item data should begin in the second row.
Data should correspond to the header descriptions below.
|
Header Column |
Header Description |
|
A |
Vendor Part # |
|
B |
Item # (UPC/EAN/ISBN) |
|
C |
Item ID Type |
|
D |
GTIN |
|
E |
Casepack Qty |
|
F |
Description |
|
G |
Retail Price |
|
H |
Unit Cost |
|
I |
Category |
|
J |
SubCategory |
|
K |
NRF Color Code |
|
L |
Vendor Color Desc |
|
M |
NRF Size Code |
|
N |
Vendor Size Desc |
|
O |
Attribute1 |
|
P |
Attribute2 |
|
Q |
Attribute3 |
You may download a blank spreadsheet by using the Download Excel or Download CSV links. The spreadsheet will be blank if no item data is already loaded into the Item Master. If item data is already loaded, it will be included in the download.
To synchronize with Trading Partner Intelligence:
Click the Synchronize with Trading Partner Intelligence link.
Click Synchronize to synchronize the file data.
If data is in both the Item Master and TPI, the Item Master data is assumed to be correct. Deleted item data will reappear in the Item Master after TPI synchronization if it is included in the TPI database.
If TPI has the correct data, and Item Master is incorrect, delete the Item Master record and then synchronize to update the Item Master record.
Click Cancel to cancel the synchronization.
When finished working in the Item Repository, click the Close Window button to exit and return to the Defaults window.
NOTE: Instructions on using the Item Repository are found here.