|
1 |
|
1 |
The WebForms Preferences page allows you to customize some aspects of your workflow. These customizations include:
To access the Preferences page, click the Preferences button in the WebForms toolbar.
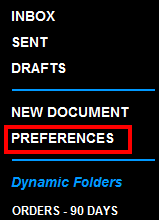
The Preferences page will open in a new window.
There are five tabs at the top of the Preferences window:
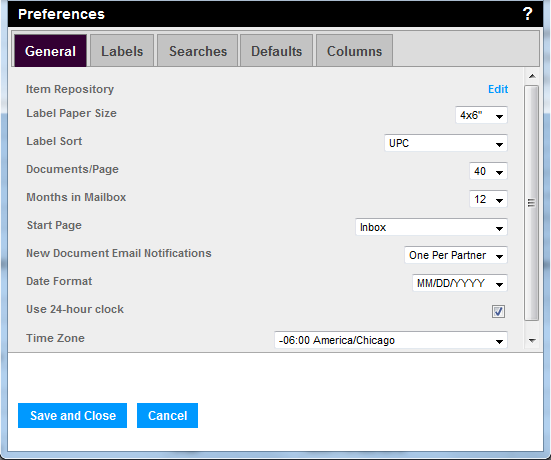
The General preferences allows you to make changes to the Item Repository, printer type, documents per page, and months in mailbox.
NOTE: Click Save and Close to save changes before exiting the Preferences window.
Item Repository - The Item Repository allows users to add and edit Item information for repeated use when completing data entry. Once a user specifies Item details within the Item Master, they are available to automatically populate form fields during subsequent completion of EDI documents. This reduces the time spent on data entry and the possibility of errors. Click here for more information on the Item Repository. Click Edit to open the Item Repository.
Label Paper Size - Select the appropriate label paper size: 4x6, legal, or A4.
Label Sort - Use the drop-down selector to set the label sorting by Default (ASN line item number), UPC, SKU, or Vendor Part Number.
Documents / Page - Use the drop-down selector to select the desired number of documents to appear on each page. The available range is 15 to 40 (in increments of 5).
Months in Mailbox - Use the drop-down selector to select the desired number of months documents remain in the inbox. The available range is 1 to 12 months (1, 2, 3, 4, 6, 9, 12).
Start Page - Use the drop-down selector to select the desired landing page when opening WebForms. The options include: inbox, sent, drafts, search, and your dynamic folders.
New Document Email Notifications - Use the drop-down selector to set the new document email notifications to be sent one per partner, or to aggregate all documents into one email.
Date Format - Use the drop-down selector to set the preferred date format: MM/DD/YYYY, DD/MM/YYYY, or YYYY-MM-DD.
User 24-hour clock - Check the option to use a 24 hour timestamp.
Time Zone - User the drop-down selector to set the preferred time zone.
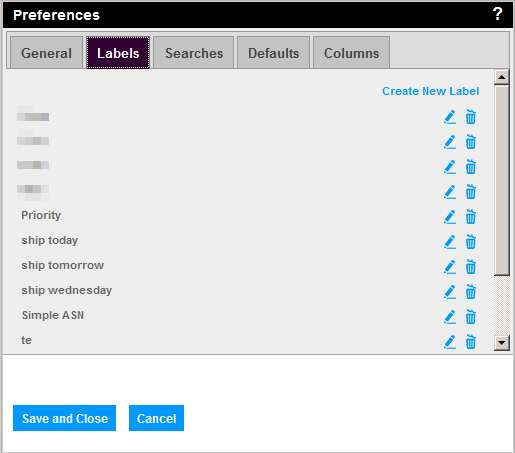
The Labels tab allows you to manage the document labels across your company's WebForms users.
NOTE: Click Save and Close to save changes before exiting the Preferences window.
Click Create New Label to create new labels.
NOTE: Creating a label does not assign the label to any documents. See Labeling Documents for how to label a document.
Click the Rename icon ![]() to rename an existing label.
to rename an existing label.
Click the Delete icon ![]() to delete an existing label.
to delete an existing label.
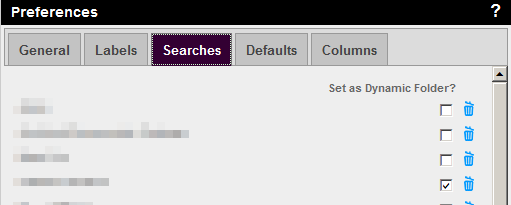
The Searches tab allows you to manage saved searches associated with your user ID.
Check the box associated with the search to set as a dynamic folder. See Save Search for more details on this feature.
Click the Delete icon ![]() to delete saved searches.
to delete saved searches.
NOTE: Click Save and Close to save changes before exiting the Preferences window.
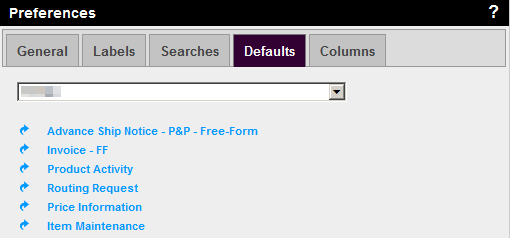
Defaults - Setting defaults allows you to automatically enter information in a field without manually inputting it. Click here for more information on Setting Defaults.
Use the drop-down menu to select the trading partner. Available documents will appear listed below.
Click on the document name to make changes to the defaults for the selected document associated with the specified trading partner.
NOTE: Click Save and Close to save changes before exiting the Preferences window.
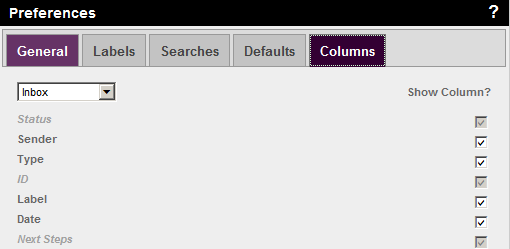
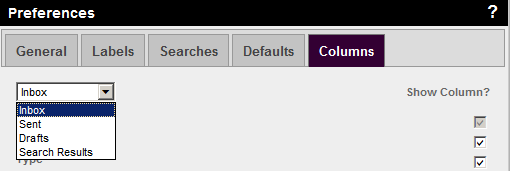
Click the drop-down menu to select the page view to customize. The available options are:
![]() White Check Boxes may be unchecked,
to hide the column for the selected page view.
White Check Boxes may be unchecked,
to hide the column for the selected page view.
![]() Gray Check Boxes may not be unchecked, and
will always appear for the selected page view.
Gray Check Boxes may not be unchecked, and
will always appear for the selected page view.